“Hello” Project

In this post I’ll be documenting the process I went through on my “Hello” project. The brief was to create a scene that reflected genre by only the look and feel of the scene without using any dialogue.
Here is my production schedule:

Proudction Schedule

mind mapGenres:

Horror – This is a genre that aims to manipulate, scare and cause fear for audiences. Main themes usually include an evil person, force, or monster terrorizing someone/ a group of people. Sometimes a lot of gore and violence is included, but it’s not always needed. There are different sub-genres of horrors like psychological, comedy etc.

Example: Saw (2004)

Rom-com – This in itself is a genre that combines themes of romantic and comedy movies that are usually light hearted and focus around the ideas of true love and it overcoming any obstacle.

Example: Moonrise Kingdom (2012)

Animation – This genre is often very imaginative and creative, as animation gives the opportunity to create anything, like bringing objects and animals to life and have them speaking. This meant that animated movies have often been targeted at children; however there are often parts that make the movie worth a watch for adults too.

Example: The Incredibles  (2004)

Sci-fi – This genre uses scientific themes to create a plot usually set in the future, and with advanced technology. They usually incorporate heroes, villains and new planets for the characters to explore.

Example: Star Trek (2009)

Western – A genre that is primarily set in the American Wild West. The majority of films are set between the American civil war and just before World War 1. The common themes of these movies include; the fight between cowboys and the Indians, notorious outlaws and gold hunting.

Example: For a Few Dollars More (1965)

Comedy – This is a genre that relies on humour and entertaining stories and characters. The aim is to make audiences laugh, but sometimes serious stories are incorporated, but there is usually a happy ending. Comedies are likely to merge with other genres as humour can be put into any genre.

Example: Pineapple Express (2008)

Thriller – A genre that revolves around keeping the audience on the edge of their seat in suspense. The protagonist usually has a mission or a goal to reach and ends with a hugely stressful climax.

Example: Interstellar (2015)

Action – The story is usually along the lines of a hero trying to achieve a goal, but is almost against impossible odds to achieve it. The film has long and continuous action and fight sequences.

Example: Mission Impossible (1996)

Film noir – This genre was created in the 1940’s and served as almost propaganda with the American solving the case and winning during the War, most plots were a P.I or cop would solve a case against a foreign criminal mastermind.

Example: The Maltese Falcon (1941)

Documentary – This is a non-fiction piece that tells the story of something that happened or happens in real life.

Example: Planet Earth (2006)

Hello scenes:

[1]

At 1:10 the joker says “hi” after just killing a cop in front of Harvey. There is very little light on Harvey’s face during the scene apart from the natural light from the sun coming through the window. There is more light on the jokers face, however it is still quite dark except from the sunlight coming through the shutters. I think the way the joker says “hi” is in a quite apologetic and cautious manner due him being responsible for the death of his girlfriend earlier on in the movie, and being responsible for half his face being burned off. As this movie is an action/thriller the way in which he says it is quite surprising, as clearly the joker has the power over Harvey.

[2]

This scene is from a comedy TV show and the hello is meant for humour purposes. The length of time she holds the word hello for is what makes the scene comedic so that’s definitely something to think about when doing my own scenes. The music used in the scene is a violin and is the kind of thing to be heard in a romantic scene, however in this scene Howard is clearly freaked out by this “woman” as they’re clearly a man in  drag.

[3]

This clip is from a horror comedy film, it uses a jump-scare when the man says “hello” but has comedy elements also as it shows the selection of weapons next to her, but she ends up choosing the banana instead. This shows an effective use of 2 genres so if I wanted to do that then I know it could work. The music used is in fact quite cliché I believe for a horror movie, but as this is a horror comedy and what we are seeing on-screen is some knives and a banana the music is over dramatic for a purpose.

Still Images

IMG_1931

This is one possible look that I could create; it’s quite dark and could potentially be from a horror or thriller. I would use lighting like this if I were to do a horror film for my project.

IMG_1932

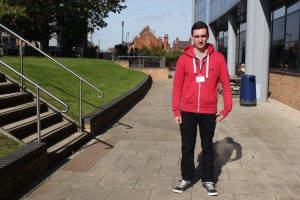
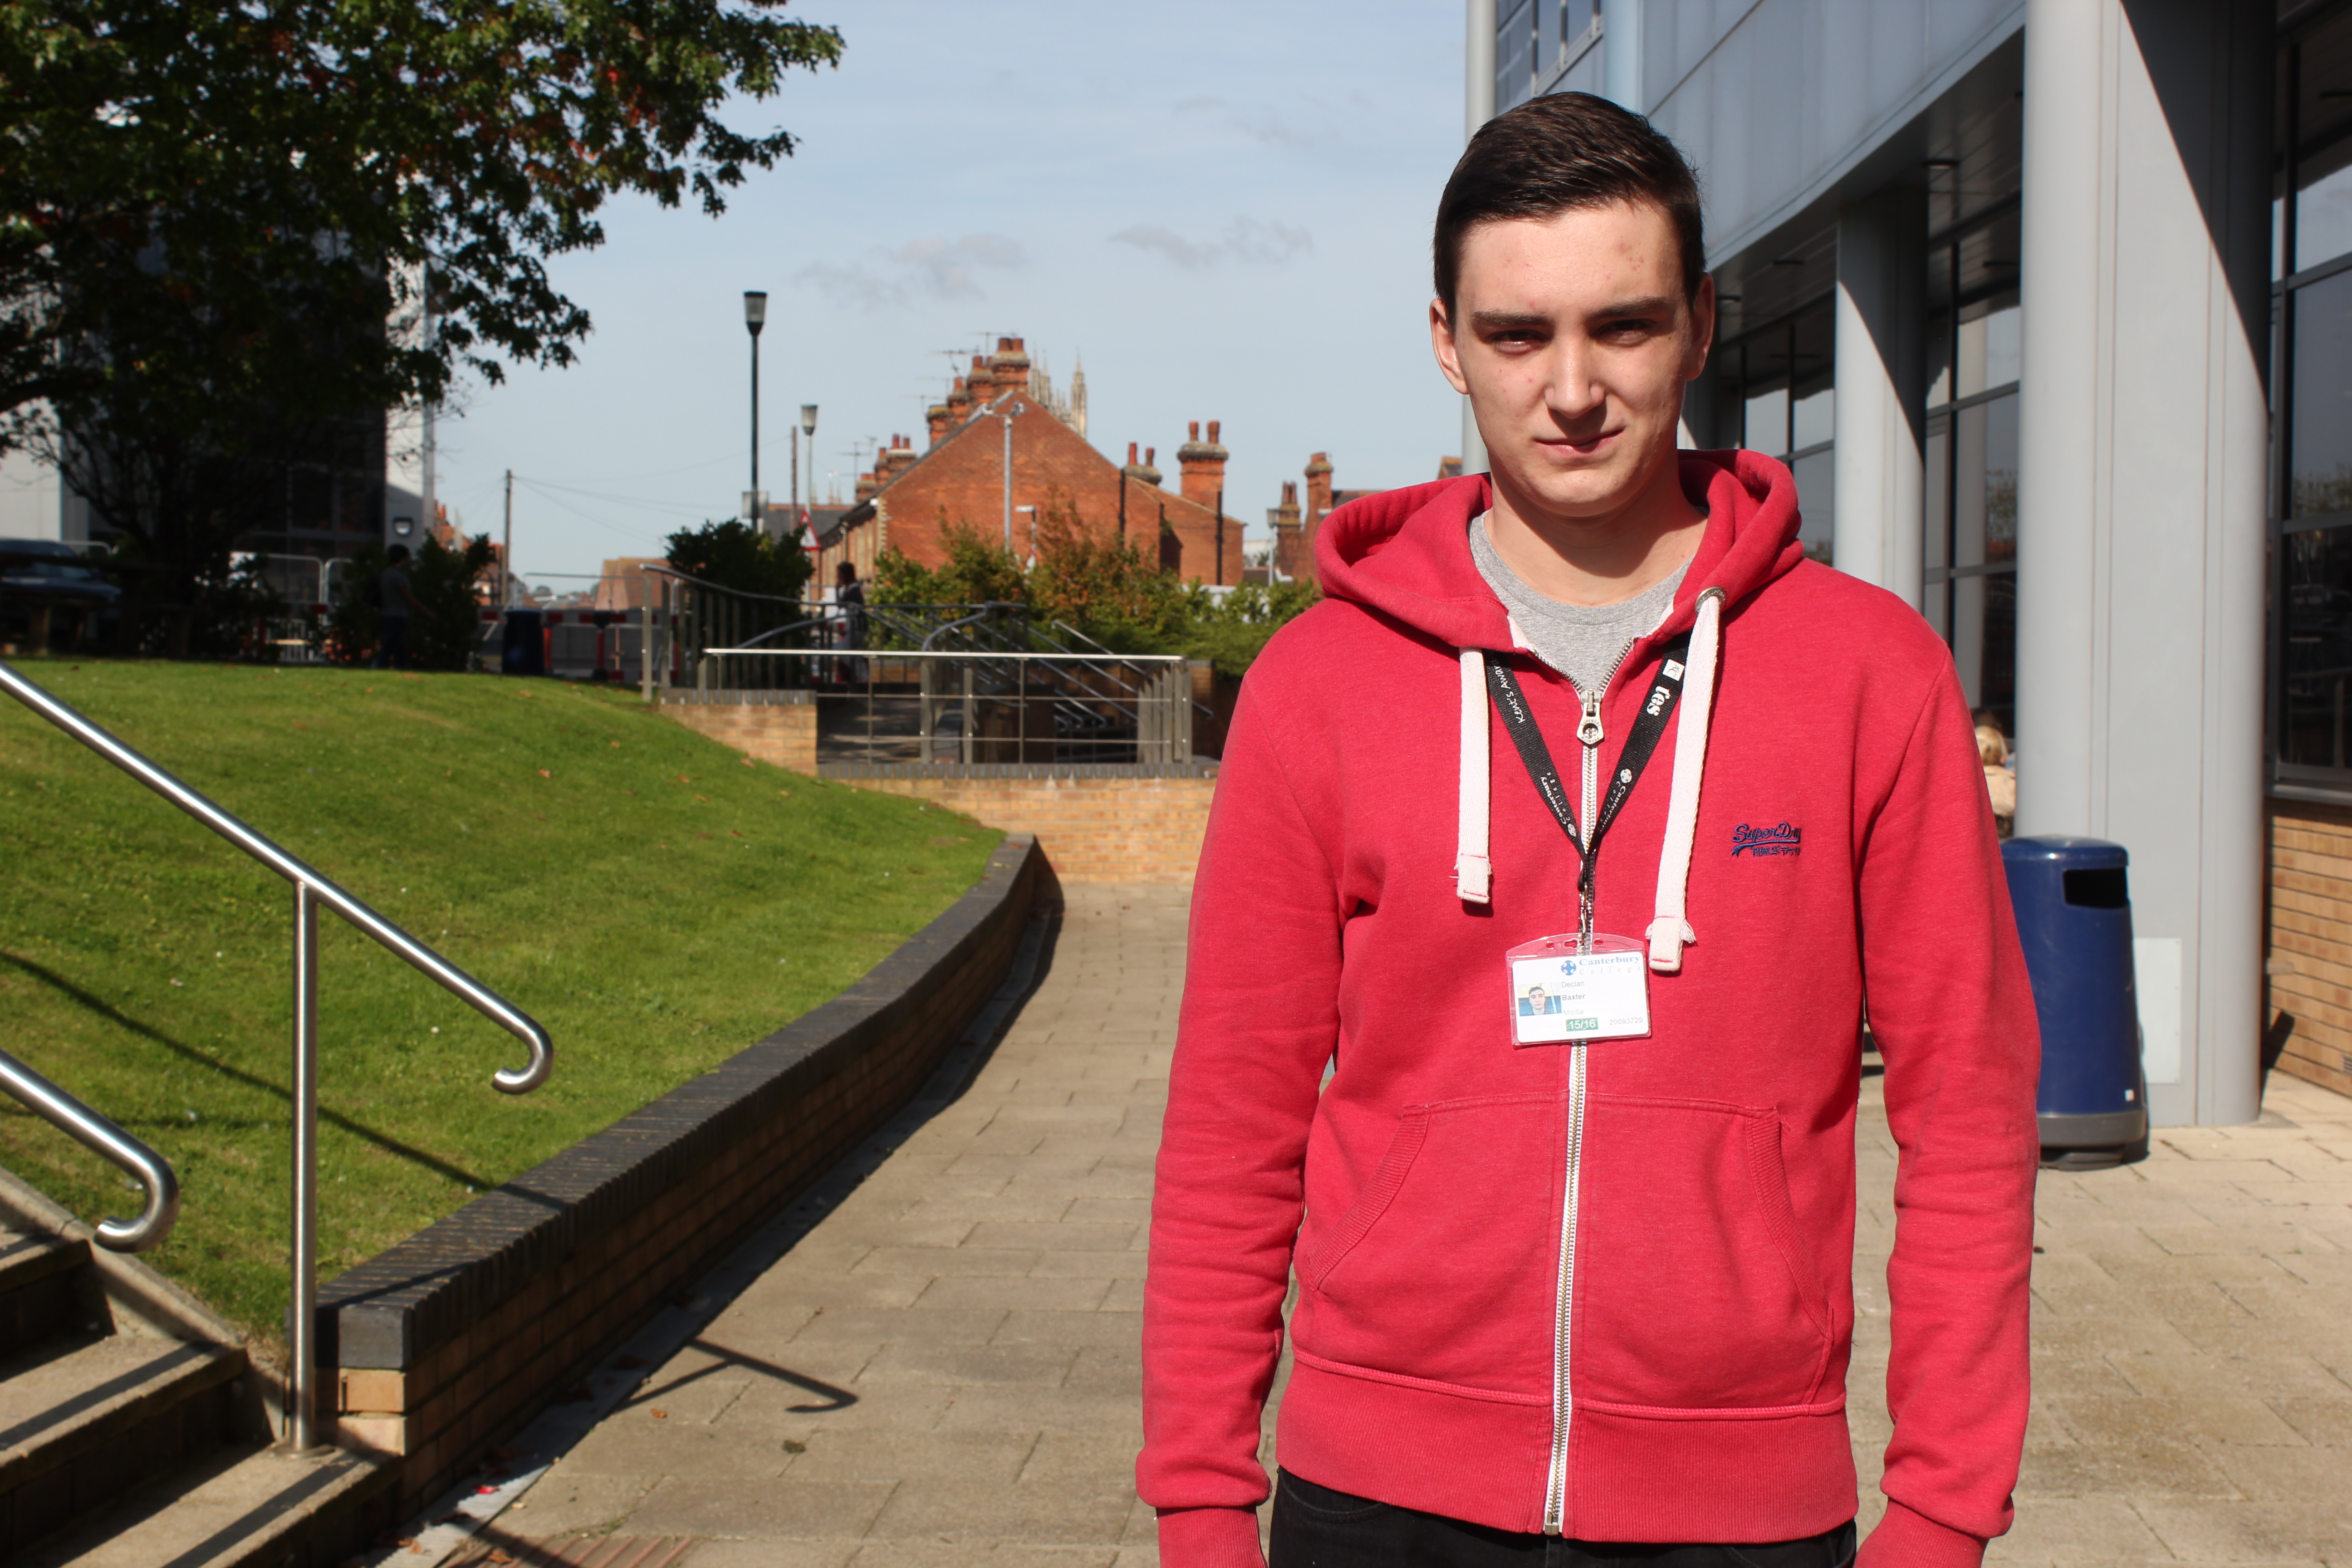
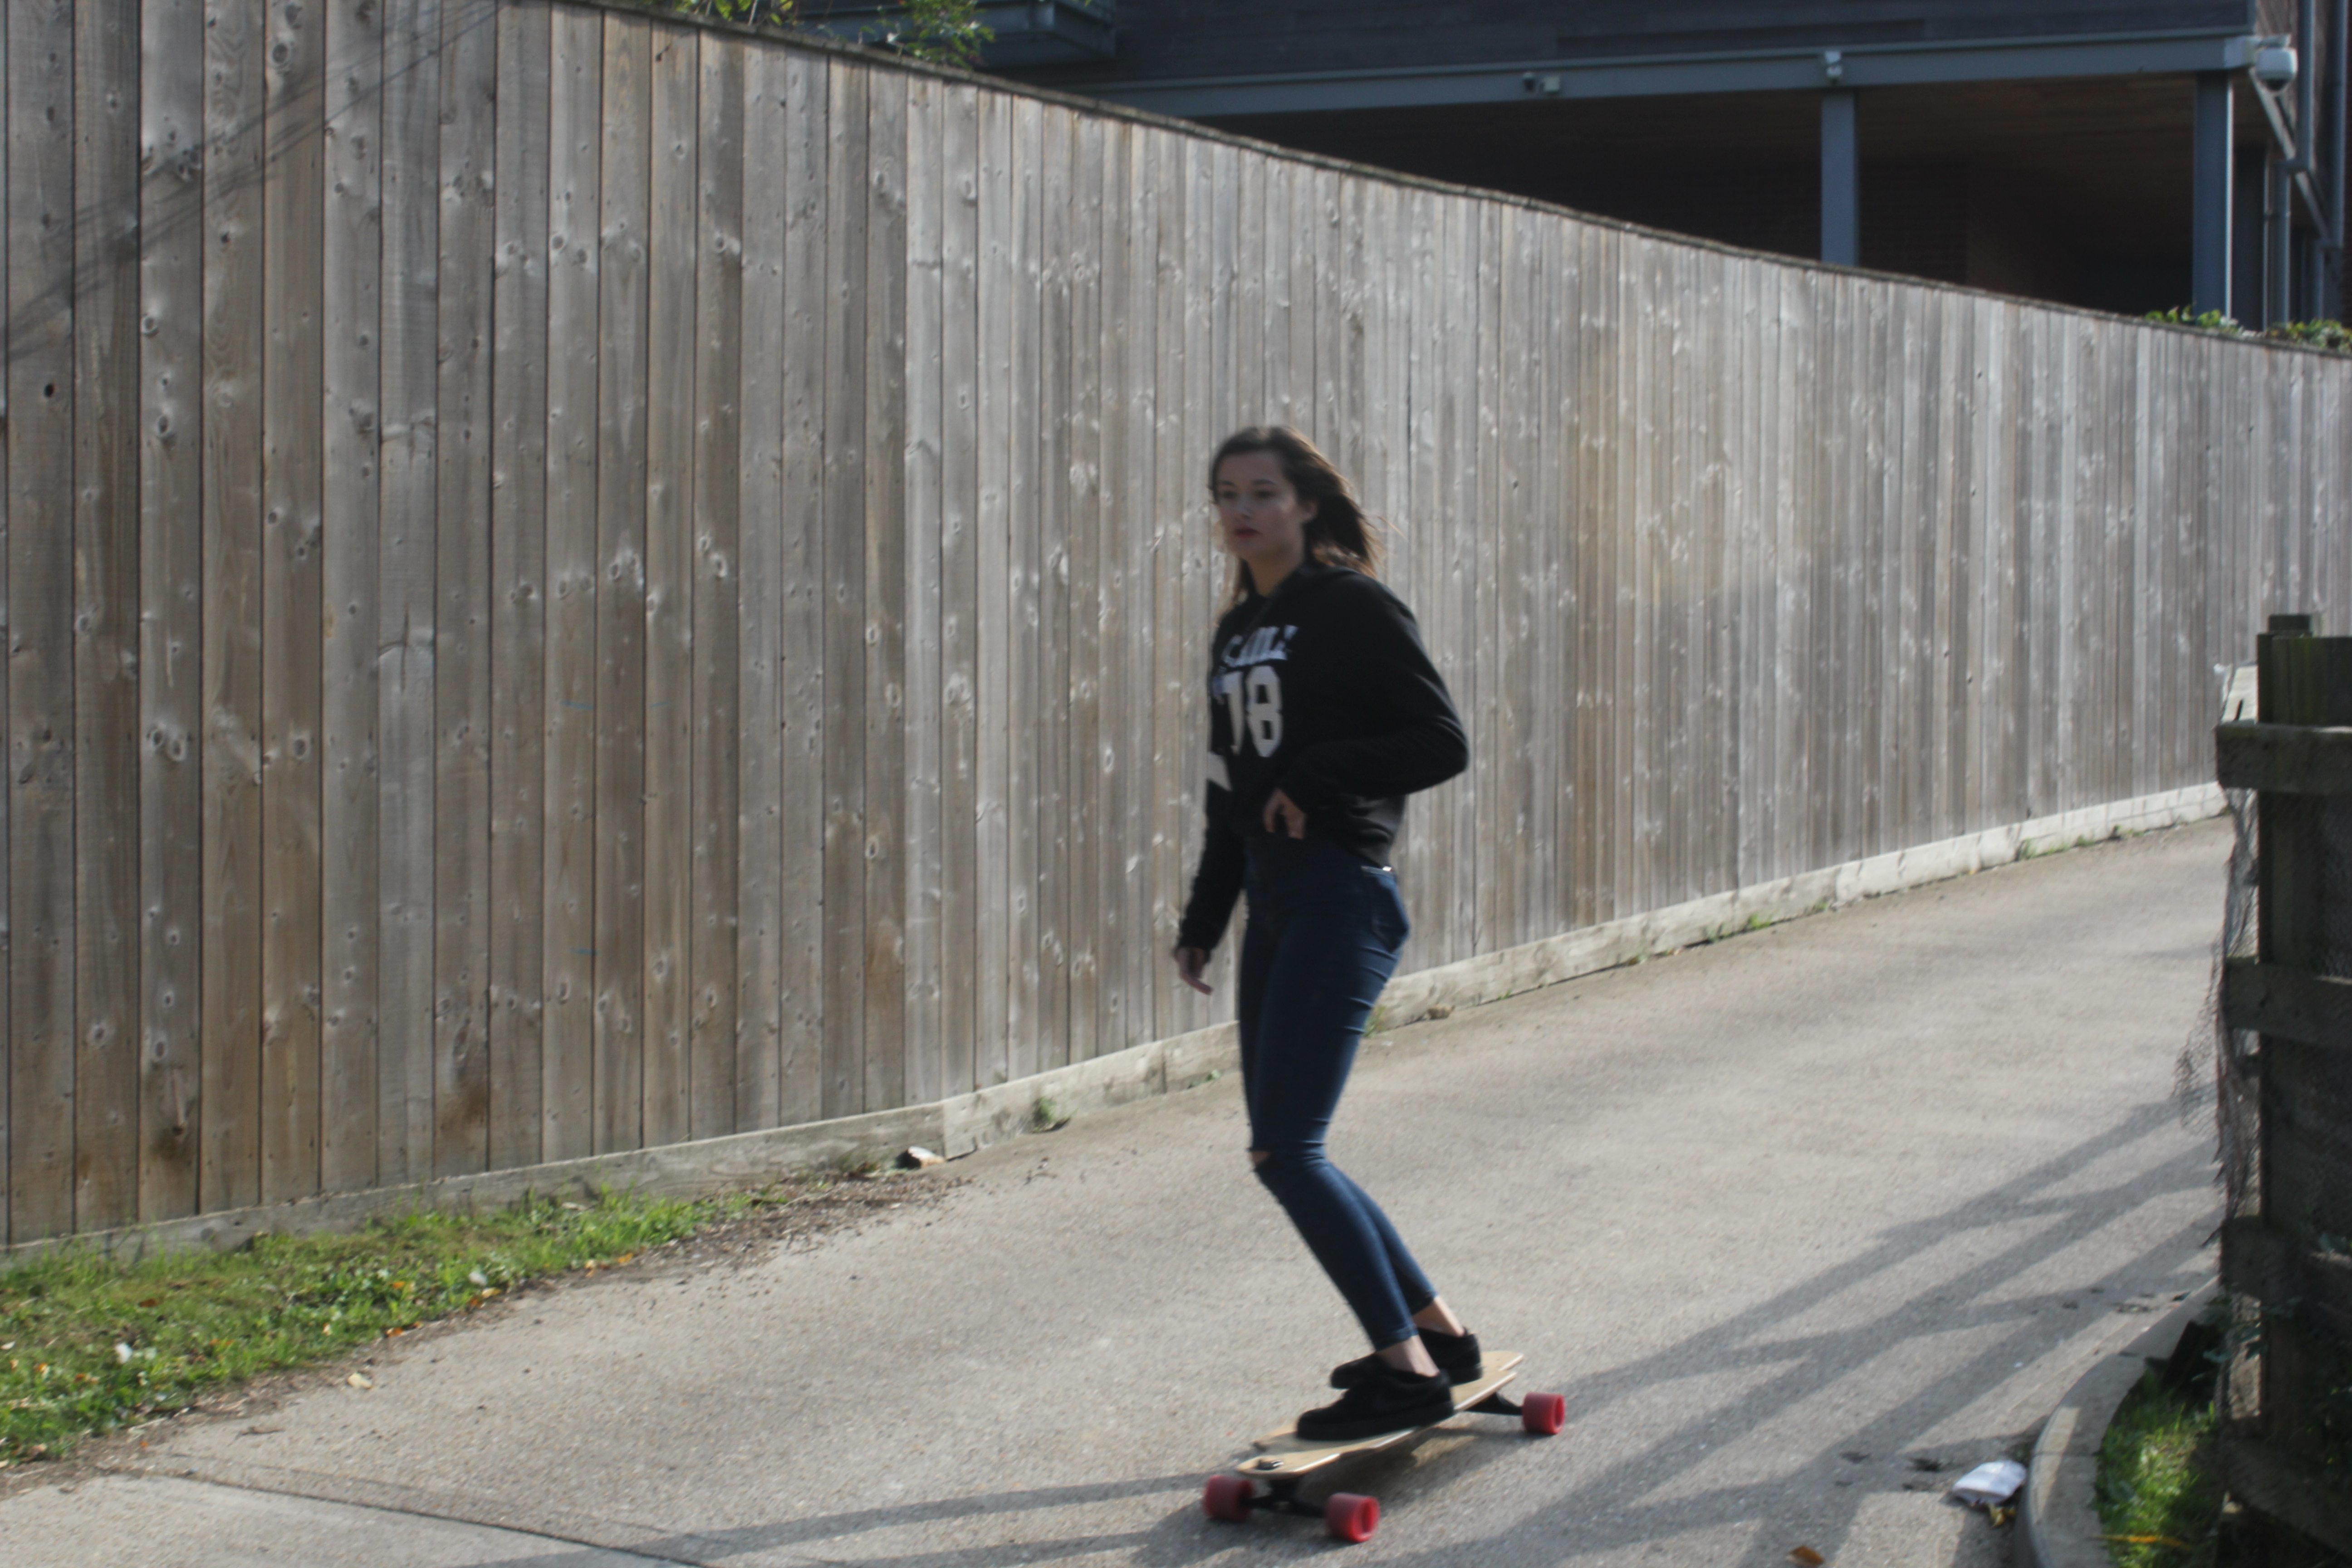
This picture is more of a natural light and this is the kind of look I’d use if I were doing some sort of comedy/action or drama.

IMG_1917

This picture is very warm looking and could be a look for a family or a kids movie.

EPSON MFP image

This is my storyboard for the “Hello” scene that I will be creating. It contains a description of the shots and what shot types will be used.

For my location I’d like to film on a beach, as they can be quite desolate locations and this would be right for the feel of my movie.

beachbeach1beach2[4]

The location I am going to use is Margate Beach, as it is quite large without anything on the beach.

I’m going to need a horse mask and a member of my group owns one so I can use that for a prop.

I have chosen to do a horror comedy as I feel that the clip from scary movie, which is a horror comedy, works particularly well in crossing over the genres. I chose not to do a thriller as I felt it was difficult to portray thriller as a genre with one word and a clip probably less than 20 seconds. I also felt that a straight comedy would be difficult to do so I’m incorporating the comedy into my horror comedy film.

Report on research processes:

The different research processes I used were primary research of photos I took, secondary research of existing film scenes, mind maps and research on different genres. The photos I took were quite useful as I was able to see the kind of looks I’d be able to pull off. This helped me to decide what genre I was going to pick as I knew I could create an eerie look to it. The mind map and research of different genres was helpful as it taught me some of the common themes of different genres that I wasn’t aware of, and these helped me to make an informed decision. I think that researching different existing film scenes and analysing them has helped me the most in coming to a decision on the genre that I am going to pick for my “Hello” project. By having a visual representation of the kind of hello that is used in these genres it has helped me to decide whether it is viable to make a scene that reflects that with my time and budget.

Here are links to my two edited films:

Review of production:

For the film that I planned and created I feel that the camera work was the strongest methods that I used. This is because on my storyboard I had planned out the shot types; so it came out better than the lighting, as that was less planned and we just thought about it on the day of filming. I planned to use slow eerie music for my film as to build tension before the filming day; that allowed me to film based around the music that was going to be used so that the end result flowed well. I think that my film turned out pretty well and the ending is very unexpected; which is what I wanted when creating it. The second film that I edited, but wasn’t in charge of filming I again thought that the camera work was the strongest part. This is because the shots flow very well and there are parts where George (who shot the film) has changed the focus on the camera manually as the character is walking towards the camera so that they are always in focus. I thought this was particularly good work. The film I think works well as a whole at building the suspense before the comedy ending.

Events that can affect a production:

There are a large number of things that can go wrong during the production of  a movie, for instance over-spending on your budget. This happens quite often on the sets of movies due to many things like re-shoots, longer time needed on location than expected, wages for actors and many more. An example of this is Pirates of the Caribbean: On Stranger Tides the original budget was $250 million, but it went over that to almost $380 million. That is now the highest costing movie of all time. Another thing that can go wrong is an actor having problems with scheduling/ not wanting a part in the project any more. This can lead to re-shoots and the time taken to find a new actor to fit your role can be quite long which can mess up timing on the production. If a timescale is not kept and the filming process overruns then the financial backers of the film could pull out as you didn’t meet their deadline. This could potentially be the end of the film unless they can self fund or find new backers.

 Impacts of the contexts I experienced during production:

Our productions didn’t have any budget; this made it more difficult, as we then could only film in public places, have to use only ourselves for actors and couldn’t purchase and kind of expensive props. This limited our production, but there is still a lot that can be done without a budget depending on creativity. There was only a 2 week timescale for my production which is very short compared to a full scale blockbuster production which goes on for years, however as my scene was only 30 seconds I think that I was able to time myself correctly to get all the work done, however if I hadn’t done this then I wouldn’t have been on schedule and probably wouldn’t have made the deadline which is very important in the media industry.
Overall I think this was a good learning experience if anything. I learnt a lot doing this project, about working in a team and having deadlines and much more. It was quite an enjoyable project and it has definitely helped me to understand how to make films for larger projects so that will definitely help me in the future.

[1] Warner Bros, (2008). The Dark Knight: Hospital Scene. Available at: https://www.youtube.com/watch?v=ZRG1tWQN6e8 [Accessed 5 Dec. 2015].

[2] skintbitch. (2008). The Mighty Boosh. Available at: https://www.youtube.com/watch?v=vCT8PRfsHiA. (Accessed 4 Dec 2015).

[3] Movieclips. (2011). Scary Movie. Available at: https://www.youtube.com/watch?v=q9QJ_S62yVo. (Accessed 7 Dec 2015).

[4] https://www.google.co.uk/maps/place/Margate+Beach,+Margate,+Kent/@51.3876108,1.3746322,17z/data=!4m2!3m1!1s0x47d953acf8ccd385:0x323730ef0ab763a6

“Hello” Project

Week 4: Introduction to Cameras – Unit 1

Introduction:

In this task I will be going out and taking pictures using different settings on the camera for shutter speed, aperture and ISO in order to find out what the differences in settings do to the shots.

Shutter Speed:

Shutter speed is the speed in which the shutter opens and closes in order to allow light to be exposed onto the sensor. A faster shutter speed will capture a more sharp picture, whereas a slower shutter speed will capture a more blurred picture, this is because in the time that the shutter is open the subject has moved and so creates a blur effect.

Typical Shutter Speeds are:

  • 1/1000 s
  • 1/500 s
  • 1/250 s
  • 1/125 s
  • 1/60 s
  • 1/30 s
  • 1/15 s
  • 1/8 s
  • 1/4 s
  • 1/2 s
  • 1 s
  • 2 s
  • 4 s
  • 8 s
  • 15 s
  • 30 s

IMG_2407IMG_2409IMG_2410

1/1000                                      1/500                                       1/100

Aperture:

Aperture is the size of the hole inside a lens that allows a certain amount of light onto the sensor of the camera. The standard sizes range from f/2.8 up to f/22, but can go much higher on better equipment.

The size of the aperture has a direct impact on the Depth of Field. Higher aperture like f.4.5 has a shallower depth of field and so only objects in the forefront of the picture will be sharp, whereas the background will look blurred, however lower aperture like f/29 has both the foreground and background sharp.

IMG_2445IMG_2446IMG_2447

f/4.5                                          f/13                                          f/29

ISO:

ISO measures how sensitive the digital sensor on the camera is. In a dark situation a higher ISO level is used in order to get a higher shutter speed in order to get the exposure correct. There are disadvantages to using a high ISO though. There can be a lot of visual noise or graininess on the photo. The standard ISO levels are:

  • 100
  • 200
  • 400
  • 800
  • 1600
  • 3200
  • 6400

IMG_2479IMG_2477IMG_2478

200                                           1600                                        6400

Evaluation:

This was a particularly interesting lesson and I like learning more about the functions of a camera and learning new skills. I didn’t know much about the different settings on the camera before this lesson so it was helpful for future projects to know this.

Week 4: Introduction to Cameras – Unit 1

Week 4: Introduction to Cameras – Unit 1

Introduction:

In this work we are going to take pictures as a sort of storyboard to show a story using different shot types.

For this task we used a range of different shot types, including Over the Shoulder, Medium Long Shot and Close up. We storyboarded a greeting and then took pictures to portray what the video would have been like.

IMG_9666IMG_9667IMG_9668IMG_9669IMG_9671IMG_9672IMG_9675

The 180° Rule:

This rule means that when 2 characters are 180 degree ruleconversing or interacting in some way, then there is an imaginary line through the characters called an “axis”. The cameras must stay within one 180° side of these characters. If a shot was to be on the other side then it would break the special awareness of the viewer and detract them from the story and make them realise that it’s not real. This is because if character A is on the right of the frame and character B is on the left, but then someone speaks and the shot changes to show the other person talking, but they’re on the same side as the other person was it will give the impression that someone is talking to themselves.

Shot Reverse Shot:

This is a technique used in film in which one character is seen looking off-screen or at another character, and then the next shot is another character looking back in the opposite direction. The viewer will then put together that these two characters are interacting with each other.

shot-reverse-shot
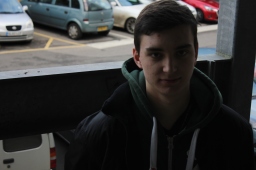
This is an example of shot reverse shot, it is often used in conjunction with the Over the Shoulder shot (OTS).

Evaluation:

It was good to go out and test our skills so that we can fully understand the 180 degree rule. I liked this way of learning more than just writing it up, as it helps to full reinforce what we learned.

Week 4: Introduction to Cameras – Unit 1

Week 3: Introduction to Lighting – Mike’s Lesson – Unit 1

Introduction:

In this task I’ll be looking into how we see colour and some different lighting techniques including a detailed analysis of Three-point lighting systems and how they work.

How we see colour:

Natural light – The sun shines light towards the Earth, when this light hits an object, for example a T-Shirt, all of the colours are absorbed into the t-shirt except the colour of the dye. This is then reflected into our eyes and so we see the colour of the object.

We see white colours by all of the colours being reflected when coming into contact with the object and we see black colours when all of the colours are absorbed.

Three-point lighting:

Three-point lighting is one of the most commonly used lighting systems in film production. There are three separate lights in this system called Key light, Fill light and Back light. All lights must have the same colour temperature to keep the colour balance on the object/person the same.

729px-3_point_lighting_svg

This is a standard three-point lighting system, however the fill light will usually be placed further back if there is no fader in order to make the light softer on that side.

All lights must be at eye level so that there is no shade underneath the eyebrows and around the eyes. If a lighting rig was used then there would be shadows, as the lights come from above.

The Key light is usually placed 30°-45° from the person in shot. It shines on the front and side of the face, as seen in the photo below, however due to the nose and cheekbone there is shading on one side of his face.

key

To combat this a Fill light is used on the other side of the person, however the light is not as intense as the Key light by half and is a softer light. The point of the Fill light is to light up the shaded side of the face to give a more natural look, otherwise it looks like quite dark and brooding to have half the face in darkness. Unless that is the kind of look you’re going for in the scene in question.

FIll

Lastly is the Back light. As film is in 2D, filmmakers have to use other techniques to portray depth in their movies. That is when a Back light comes in. The light is placed out of shot, but behind the subject. It defines the areas around the person so that it gives the impression that he is standing separately from the background even though it is still only a 2D screen.

back

Evaluation:

Before this task I didn’t know anything about lighting systems, but now that I’ve done it I feel like I know a lot about three-point lighting and could recreate it myself for my own future projects. This is useful as it will make my videos look more professional.

Week 3: Introduction to Lighting – Mike’s Lesson – Unit 1

Week 3: Introduction to Lighting – White Balance – Unit 1

Introduction:

I will be going out and taking pictures using different white balance settings at the same location in order to test what difference it made to the lighting of the shot.

Exterior:

IMG_9372IMG_9373IMG_9374

Auto White Balance               Daylight                                 Shade

IMG_9375IMG_9376IMG_9377

Cloudy                                    Tungsten light                        White Fluorescent

Interior with Exterior light:

IMG_9397 IMG_9398 IMG_9399

Auto White Balance               Daylight                                   Shade

IMG_9400 IMG_9401 IMG_9402

Cloudy                                     Tungsten light                          White Fluorescent

Interior:

IMG_9421 IMG_9422 IMG_9423

Auto White Balance                Daylight                                   Shade

IMG_9424 IMG_9425 IMG_9426

Cloudy                                     Tungsten light                         White Fluorescent

Evaluation:

I found it quite easy to physically change the settings to change the white balance, but I did struggle to understand how the light entering the lens changed the colour, however I think I got the hang of it in the end.

Week 3: Introduction to Lighting – White Balance – Unit 1

Week 2: Shot Types – Framing & Composition – Unit 1

Introduction:

In this task I’ll be taking some photos to show the different shot types and rules of composition that we learnt about in class.

IMG_1725

This is a long shot (LS), as it encapsulates the entirety of the subject’s body from feet to head.

IMG_1727

This is a medium long shot (MLS), it is from the subjects knees up to the top of the head.

IMG_1729

This is a mid shot (MS), it shows from the waist of the subject up to the top of the head.

IMG_1731

This is a Medium Close Up (MCU), it goes from the subjects upper chest/armpits to the top of the head.

IMG_1733

This is a Close Up (CU), it is just the face and is usually used in movies to show the emotion on the face and sometimes dialogue when there is an important moment.

IMG_1736

This is an Extreme Close Up (ECU), it usually only shows one facial feature, normally the eyes.

IMG_1737

This shows a Rule of Composition, Rule of Thirds. The subject is placed on the border between two-thirds, it gives a more pleasing to the eye shot and is used in nearly all films today.

IMG_1740

This photo shows a Rule of Composition, looking into space. It is usually used in a scene when dialogue is occurring and so it gives the effect that the subject is talking to someone who is not in the shot.

IMG_1744

This photo shows a Rule of Composition, Depth of Field, the background is out of focus, but the subject is in focus so it grabs our attention and we pay attention more.

Evaluation:

It was good to physically take photos instead of just learning about the shot types in class, as it helped to reinforce what we had learned. I did know most of the shot types already, but wasn’t too sure on their positioning so this really helped me for future projects so I can get them right.

Week 2: Shot Types – Framing & Composition – Unit 1

Week 2: How Do You Become a Director? – Unit 3

Introduction:

In this task I’ll be researching into what it takes to become a Film director, an example of one successful director, and what a director actually does when a film is being made.

A considerable amount of luck is required in order to be a film director. Your films have to be noticed by the right people in order to make it big time. A good Director must have a film reel in order to show off their talent to prospective studios that could be potential employers.

Christopher Nolan:

Nolan started his career by making corporate and industrial movies. He also mad a 3 minute short called doodlebug, the premise was a man chasing a bug around his flat before realising that it was an alternate smaller version of himself, but he decides to kill it anyway. After this he and friends made an entire movie themselves on just weekends that Nolan self-funded. It took nearly a year and they had to rehearse every scene thoroughly so that the first or second shot could be used to save film. The feature was critically acclaimed and had a good festival run, screening at The Rotterdam International Film Festival and winning the “Best First Feature” at the San Francisco International Film Festival. This gave Nolan the opportunity to make Memento (2000) on a budget of $4.5 million. [1]

This is what Nolan said about the jump from making his own films to a professional feature:

“The difference between shooting “Following” with a group of friends wearing our own clothes and my mum making sandwiches to spending $4 million of somebody else’s money on “Memento” and having a crew of a hundred people is, to this day, by far the biggest leap I’ve ever made. It was a bit like learning to swim once you’re out of your depth: It doesn’t make any difference if it’s 2 feet or 100 feet down to the bottom—you’re either going to drown, or not.” [2]

Career Paths:

University – Courses can be taken at universities in Film Production, and then complete the degree with a named award in Directing. As seen at Arts University Bournemouth here: http://aub.ac.uk/courses/ba/ba-film-production/ This could be a good route as you learn a lot of valuable skills about how to direct and other parts of the film production process, and also a lot of contacts can be made.

Independent – Setting up your own production company is a viable option if you want to become a Film Director. To start with you would make small shorts for local businesses, festivals and charities. If you get lucky and someone notices or likes the style that you’ve used then potentially these films can lead onto getting work on a larger project.

Film Festivals – By inputting your own independent films into lots of film festivals then they could potentially get screenings which could get you noticed in the film industry. Some very popular films and directors were first discovered at film festivals.

5 films that debuted at Sundance Film Festival:

(500) Days of Summer

Reservoir Dogs

The Blair Witch Project

Super Troopers

Whiplash

These films went onto garner large critical acclaim and box office success from starting at The Sundance Film Festival. Quentin Tarantino got his first big break at the festival with Reservoir Dogs and is now one of the most influential and talented directors there is in the world.

Directors work as part of a team, without this team and their advice a Director would never be able to create some of the masterpieces that have been created over the years. Some of the roles that work closely with the Director in order to create his vision are: Cinematographer/Director of Photography, Editor, Set Designer, Storyboard artist. According to the Auteur Theory, “the Director is considered the primary creative force in a motion picture” [3]

Evaluation:

I learnt a lot about the kinds of things that the director does, I previously wasn’t aware of just how much the director did and thought that he compartmentalized the work load, but he is actually involved in everything. It has helped me for my own future projects, as if I am the director I will know what kind of jobs I’ll need to do.

[1] Christopher Nolan. Available: https://en.wikipedia.org/wiki/Christopher_Nolan. Last accessed 28th Sep 2015.

[2] Jeffrey Ressner. (2012). The Traditionalist. Available: http://www.dga.org/Craft/DGAQ/All-Articles/1202-Spring-2012/DGA-Interview-Christopher-Nolan.aspx. Last accessed 28th Sep 2015.

[3] Merriam-webster.com, (2016). Definition of AUTEUR THEORY. [online] Available at: http://www.merriam-webster.com/dictionary/auteur%20theory [Accessed 28 Sep. 2015].

Week 2: How Do You Become a Director? – Unit 3